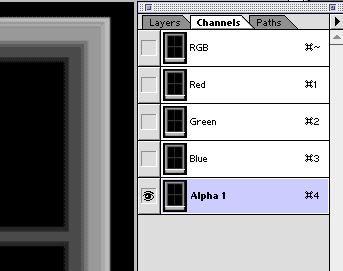
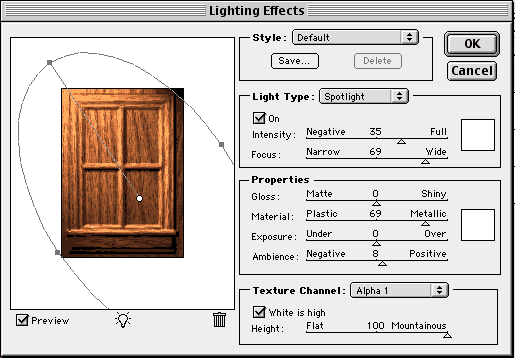
6 Now add a new channel to the file. Copy and paste the “bump map” art from its layer into the channel. Do a gaussian blur on this “bump map” channel, just enough to soften the edges. Go back to “layers” and with the wood grain layer active, choose “Filter/Render/Lighting Effects”
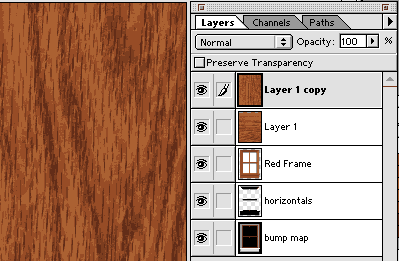
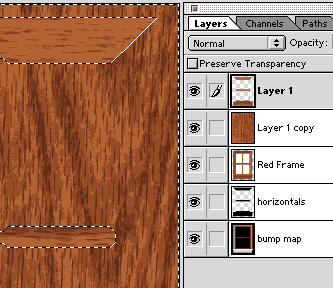
7 Control click the "Red Frame" layer, invert the selection, delete the unneeded wood grain from the wood layer.

8 Duplicate the Red Frame layer and use "hue and saturation" to desaturate the frame. Set the layer to "hard Light". This will enhance the highlights and shadows.
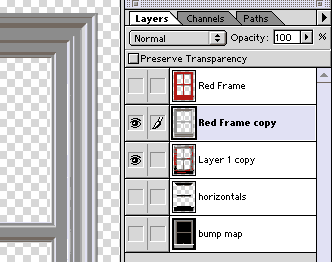
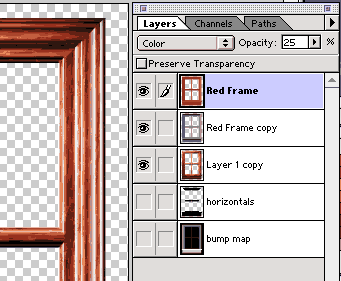
9 Set the "Red Frame" layer to color mode and adjust the opacity to get the desired color of wood.
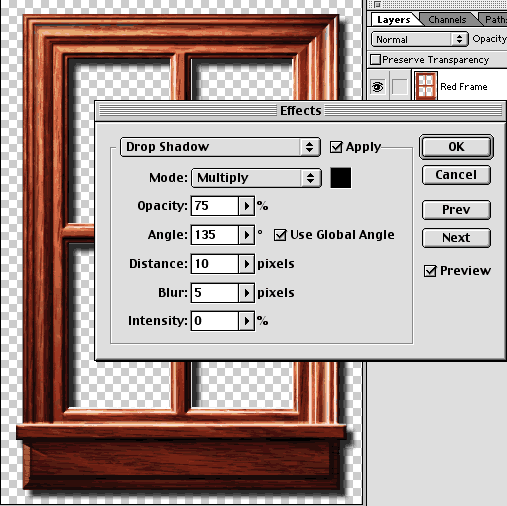
8 Add drop shadows and art in windows.
Click here to see a finished sample used for a company Christmas Card. A nineteenth century greeting card was used for the landscape and decorations, "frost" was added into the windows using white added to a layer set to "screen".