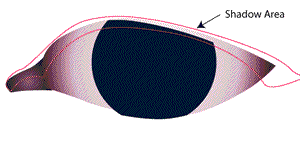
9 To create the shadow of the eyelid, start by copying the iris, eyeball and corner flesh and placing the copy on layer 3. Adjust the colors in the gradients to make a darker version of the eyeball. Now draw a new shape over the darker eye to define the shadow line, remember the area above the eye will be covered by the eyelid, so you do not need to fuss over the top of the shadow line. With the dark eye and shadow area selected, choose “Object > Clipping Mask > Make”.

The shadow with the clipping path should look like this:

10 I will show a couple of ways to create soft edges for the skin areas. The first is to use the “Blend Tool”. Create two new shapes on either side of the “hard edge”, fill each with the color next to it. Click on one of the shapes anchor points with the blend tool, then click on the other shape, on a anchor point directly opposite the first. You can double click on the blend tool in the tool box to specify the number of steps between each color.
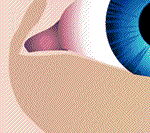
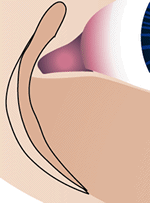
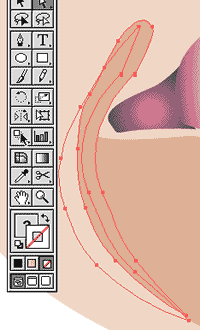

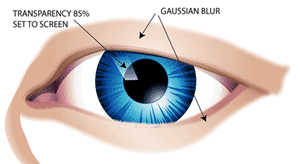
11 With Illustrator 9 and up, we have some new tools that make blending easier, but with some loss of control. Photoshop users will recognize and appreciate “Effects > Blur > Gaussian Blur”. Use this with a low pixel setting (3 or 4) to soften the edge of a highlight/shadow shape. Also available in Illustrator 9 is the Transparency pallet. This can be used to create soft highlight (as pictured) and shadows (just change the blend mode to “multiply” for shadows).
Photoshop users may want to know why not switch to Photoshop after step 8 or 9, certainly the finishing effects could be done easier and more realistic in Photoshop. The answer is yes, by all means do. My purpose here was to show the possibilities in Illustrator as well as have a vector art file to animate in Flash (but that‘s a lesson for another day).
